Quick Takeaways
- An effective classroom library checkout system reduces lost books over time, but also encourages students to easily and efficiently borrow more books from your class library.
- A digital checkout system using Google Forms and Google Sheets can run almost entirely on autopilot once it’s set up, including automated overdue reminders.
- Unique Book IDs and QR code labels make the checkout process self-serve: students scan, fill in a form, and the tracking happens without you.
- Assigning student library jobs transfers responsibility to the classroom rather than to you, and students take that ownership seriously.
- Set the system up once at the start of the year, sit back, and let the automations take care of the rest of the checkout process.
Classroom Library Checkout System: How to Build One That Runs Itself
At the end of a long year of teaching, I sat down to do a classroom library inventory. I had about 96 books. I counted 75.
Twenty-one books had somehow left my classroom over the course of the school year and I had absolutely no way of knowing where they were. I had no record of who had any of them.
I wasn’t upset with my students. The books were available, borrowing was encouraged, and I’d told them all year that a library only works if people actually use it. What I hadn’t done was build a system. So the books left my bookshelf, and some of them never came back.
That was the last year I ran my classroom library on the honor system. What I made instead takes a few hours to set up (depending on the size of your library), and it manages itself from there.
What Does a Classroom Library Checkout System Actually Need?
A classroom library checkout system needs four things: a labeling system for each book, a digital form students can access independently, a tracking dashboard, and a return process managed by students rather than by you.
The goal is a system where the teacher is not the bottleneck. If students have to come to you to check out a book, the friction is high enough that some of them won’t bother. If they can scan a code, fill in a form in thirty seconds, and walk away with a book, they will. The setup investment is worth it, and the ongoing time cost is close to zero.
Step 1: Organize the Physical Space Before You Think About Tracking
No digital system can fix a library that’s visibly chaotic. Before you set up any classroom library checkout system, spend time on the physical organization.
Organize by genre, theme, or reading level using clear labels, sections, or bins. In a secondary ELA classroom, genre organization tends to work better than reading level because older students are more willing to browse by interest than by a level designation. Use a dedicated display area for new arrivals, student picks, or featured titles – anything that draws the eye and signals that the library is curated, not just a shelf of leftover books.
Designate a specific checkout station with everything a student needs to borrow a book: an indication of where to find the QR code, a device to access the checkout form, and a clear return slot. The physical setup tells students what the expectation is before they’ve read a single instruction.
The Classroom Systems Toolkit includes classroom library decor – book labels, library job posters, and organizational printables – that handle this physical setup without requiring you to design anything from scratch.
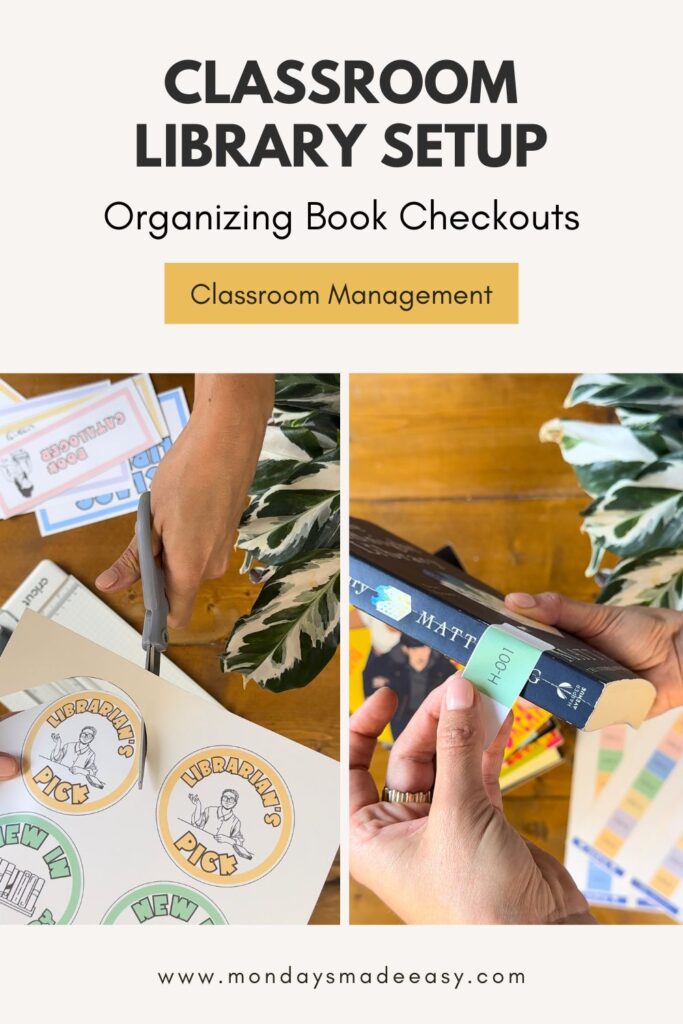
Step 2: Label Every Book with a Unique ID
This is the step that makes the whole classroom library checkout system work, and it’s also the most time-intensive part of the setup. Do it once, do it well, and you won’t have to do it again.
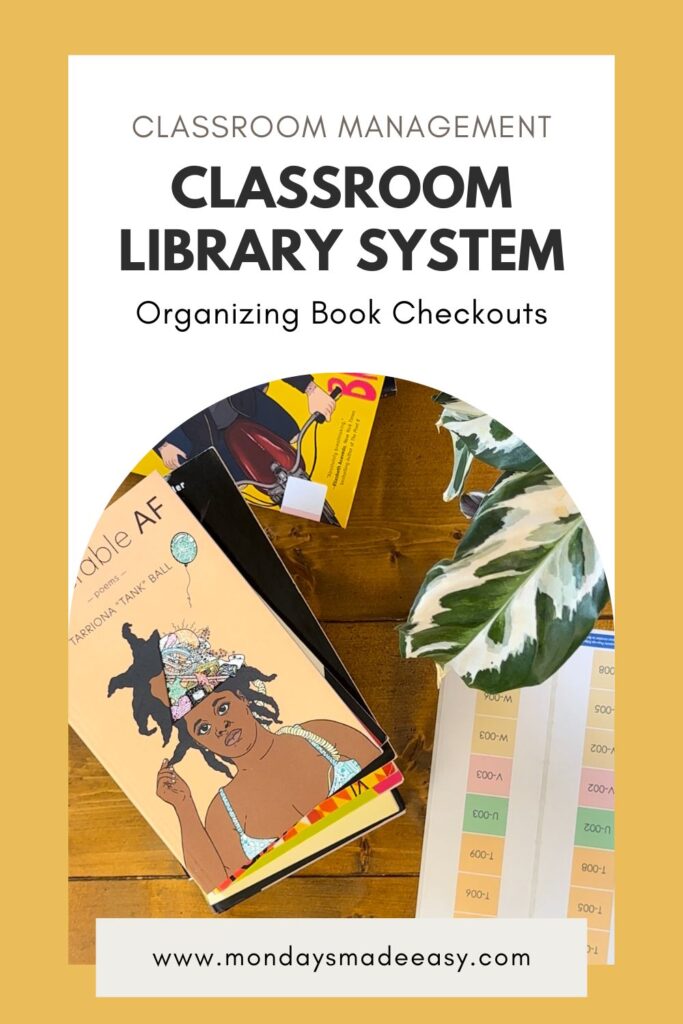
Assign every book in your library a unique Book ID using a simple convention: a letter prefix by genre or shelf, followed by a number. A-001 through A-047 for adventure, F-001 through F-023 for fiction, and so on. The convention doesn’t matter, so long as you’re consistent.
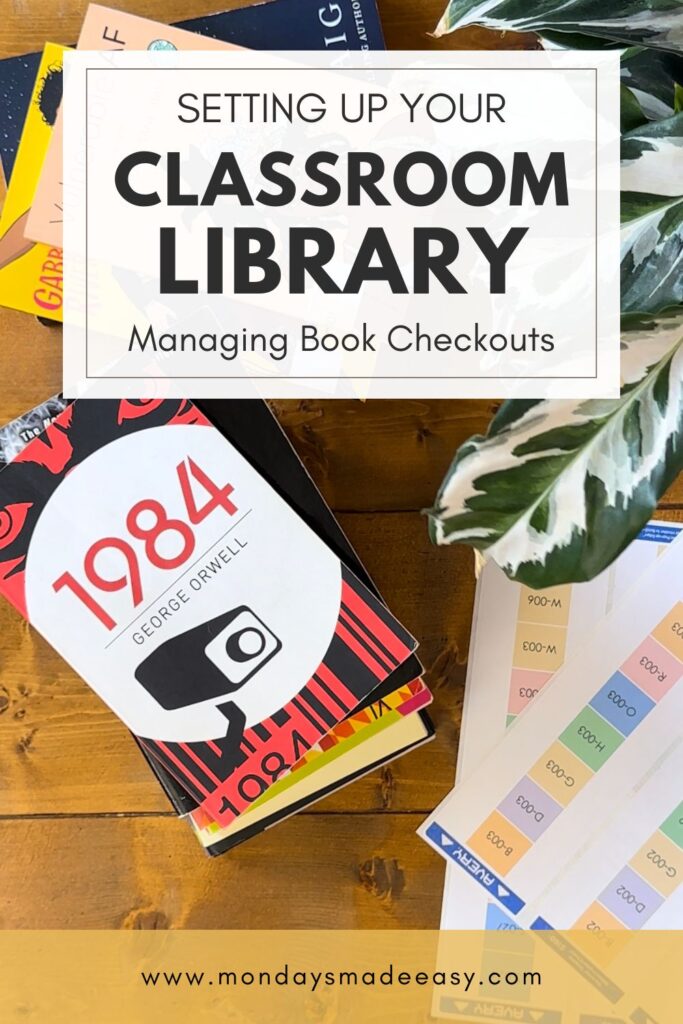
Print your labels onto sticker paper (Avery address labels work well) and adhere them to the inside front cover or the spine of each book. Each label should include the Book ID. You can also adhere stickers on the back of the book with a QR code that links directly to your checkout form. When a student wants to borrow a book, they scan the code, fill in their name and the Book ID, and they’re done.
The Classroom Library Checkout System includes a pre-populated Book ID inventory in Google Sheets so you’re not setting up the tracking spreadsheet from scratch, along with ready-to-print book labels and editable QR code placements. The inventory works as both your internal record and a view-only digital catalog you can share with students so they can browse what’s available from Google Classroom.
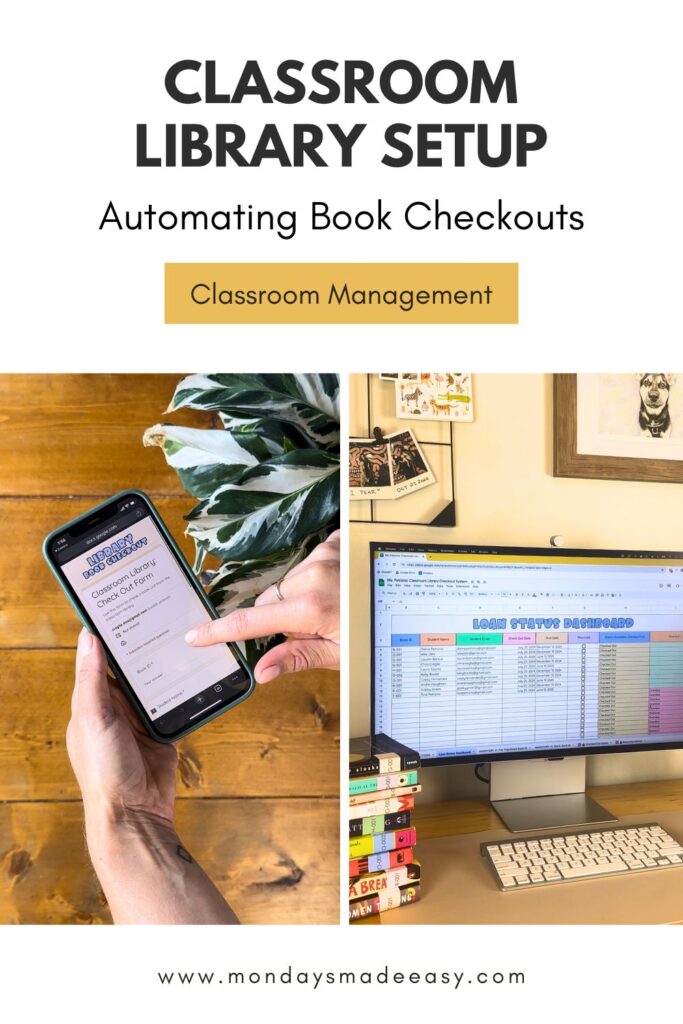
Step 3: Build Your Digital Checkout System
Once your books are labeled, the digital layer connects everything. This is what turns a labeled shelf into a functioning classroom library checkout system.
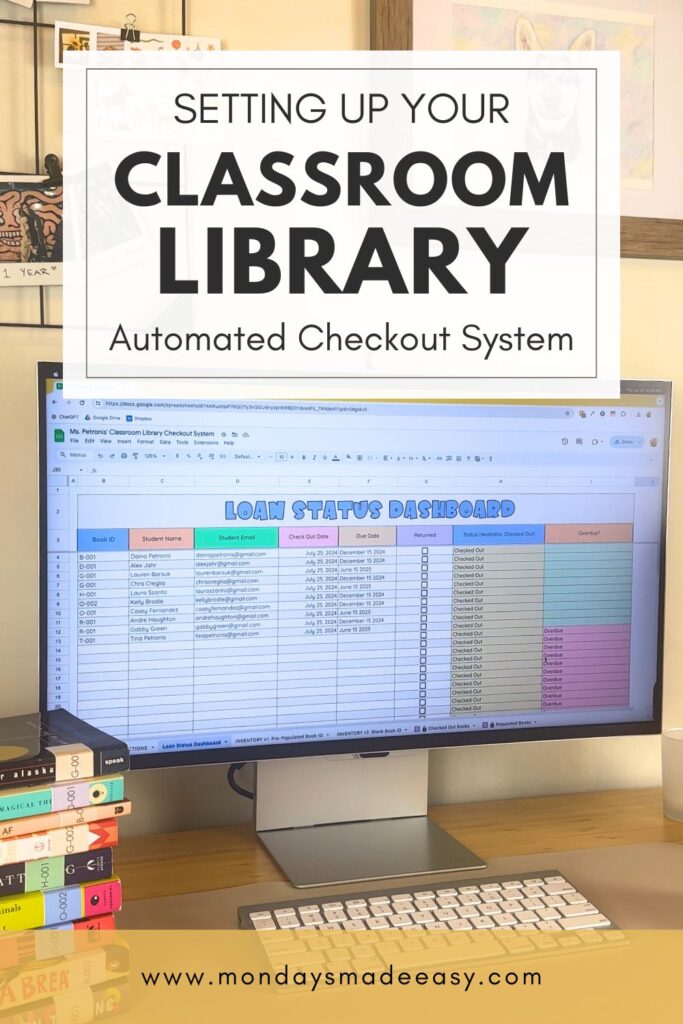
The core pieces are a checkout form and a tracking dashboard. The checkout form in the classroom library checkout system is shared with students via the QR code on each book label. They fill in their name, the Book ID of the book they’re borrowing, and their email address. The due date can be pre-set on the form. When they submit, the information flows automatically into a Loan Status Dashboard in Google Sheets, giving you a live view of every book that’s currently checked out.
Returning a book is equally simple: a student returns the physical book, and whoever is managing the library that day (more on that in the next section) checks off the “Returned” box in the dashboard. The record updates instantly.
The feature that made the biggest practical difference in my classroom: automated email reminders. The system can be set up to send students an email before their book is due and again if it becomes overdue, without you doing anything. The reminder goes out automatically. Students who genuinely forgot get a nudge. The books come back at a much higher rate than they did under the honor system.
“This is, by far, one of my best purchases on TPT. I volunteer to run a little library at my school (as we don’t have a librarian). I have used systems that have cost thousands of dollars. When that was cut from our budget this year, I panicked. When I tell you this classroom library checkout system is better than the one that costs thousands, I am not lying! It is easy and will be simple for students to use. Additionally (because it is a Google Sheet) there is no limit to the amount of books you can input! Absolutely genius system.”
The Intervention Center
TPT Seller
Step 4: Put Students in Charge of the Library
A classroom library checkout system that depends entirely on the teacher to function is a system that adds to your workload. The goal is to build it once and then hand it to students.
Two classroom library jobs do most of the ongoing work. The check-in manager handles returns: when a student brings a book back, the check-in manager confirms the return in the Loan Status Dashboard and returns the book to its proper bin. The shelf steward maintains the physical organization – books in the right sections, labels facing out, and the display area refreshed periodically. The head librarian is another fun role that involves selecting “Librarian’s Picks” (similar to Heather’s Picks and Oprah’s Book Club!)
Rotating these jobs monthly keeps them from becoming burdensome for any one student and gives more students ownership over the space. In my experience, students assigned to library jobs take them seriously. They notice when books are out of place and they remind classmates about due dates without being asked.
An optional book request form rounds out the student-facing side of the system. Students can submit titles they’d like to see added to the library, which gives you useful data about what your readers actually want and gives students a tangible stake in how the library grows.
Step 5: Let the Classroom Library Checkout System Run
After the initial setup, the classroom library checkout system requires almost no ongoing maintenance from you. The checkout form collects data automatically. The dashboard tracks it. The email reminders go out on their own. The student library team handles the physical operations.
What does require your attention: a monthly check of the Loan Status Dashboard to note any books that have been out for an unusually long time, and a brief conversation with the check-in manager if anything has gone sideways. Plan for ten minutes a month, not ten minutes a day.
At the end of the year, the inventory process that once revealed 21 missing books now gives you a clear picture of exactly what’s out and who has it. You can follow up on unreturned books with a name attached. You know exactly what to replace. The system doesn’t prevent every book from leaving – but it means you always know where your books went.
The Classroom Library Checkout System includes everything described in this post: the Google Sheets inventory and Loan Status Dashboard, the checkout form with QR code integration, book label printables, instructions for email automation setup, classroom job cards, and the optional book request form. It’s designed to be set up once and carry itself through the year.
Your Automated Classroom Library Checkout System
The twenty-one books that disappeared from my classroom never came back. I’ve thought about them occasionally over the years, and genuinely hope they’re still being read somewhere.
It didn’t have to go that way. A classroom library checkout system that functions automatically means nobody has to chase books down or hope for the best at the end of the year. The books come back because the system makes returning them the obvious thing to do. Because of this, teachers always agree: it might not be easy at first, but pays off in the long run, making it a worthy investment of time during the back-to-school season.
That’s what teachers love about an organized, automated classroom library checkout system: you stop losing things you love.
Frequently Asked Questions About the Classroom Library Checkout System
How do I track classroom library books efficiently?
The most efficient approach is a digital form connected to a tracking spreadsheet, with a QR code on each book linking students directly to the checkout form. When students submit the form, their information populates the tracking spreadsheet automatically, giving you a live view of every checked-out book without any manual data entry on your end.
How do I set up QR codes for my classroom library?
Create a QR code that links to your Library Book Checkout Form using any free QR code generator (QR Code Monkey and Adobe Express both have free options). Print the QR codes onto sticker paper and adhere them to the back of each book. Students scan the code with their phone or Chromebook to access the form – no app download required!
What happens when students don’t return classroom library books?
Automated email reminders, sent before the due date and again when a book is overdue, recover a significant percentage of late returns without any teacher intervention. For books that still don’t come back, the Loan Status Dashboard gives you the student’s name and class period, so any follow-up conversation is specific rather than a general announcement to the class.
Do I need to label every book before I can start using the system?
You can start with a subset of your library – your most popular titles or your most recently acquired books – and add labels in batches over the first few weeks of school. The system works with whatever books are labeled, and you don’t need to wait until every single book is tagged to go live with the checkout form.
Can I use a classroom library checkout system without Google tools?
The digital tracking system described here runs on Google Forms and Google Sheets, which are free and compatible with most school Google Classroom setups. If your school uses Microsoft tools instead, the same logic applies with Microsoft Forms and Excel Online, though you’d need to set up the dashboard manually rather than using a pre-built resource.